Dissertation
Aigata (Natural Indigo Stencil Dyeing)
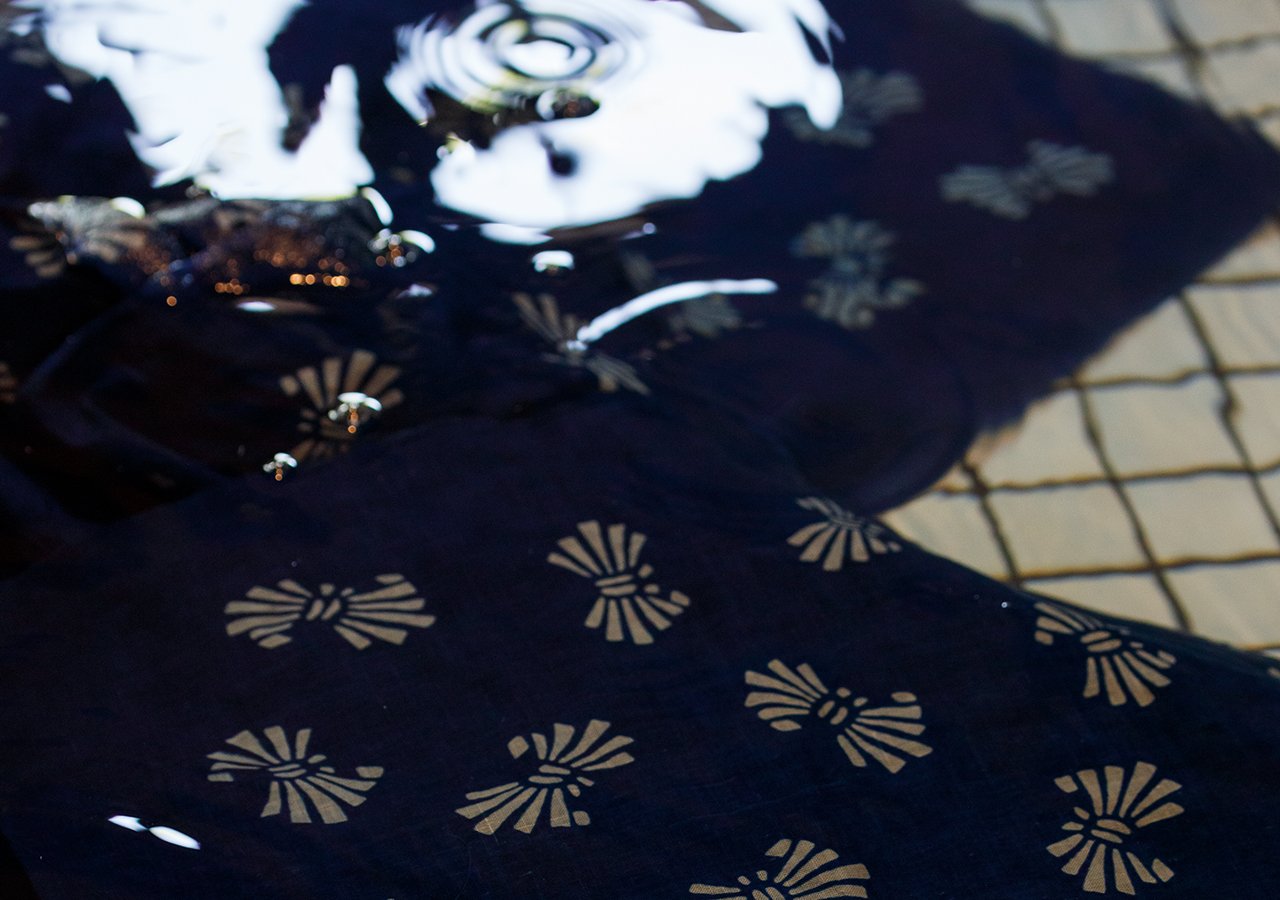
There is a piece of cloth that was dyed by "Aigata" during the Edo period that I found several years ago at an antique market, and the color of it is a beautiful deep indigo without any cloudiness to it where it appears as if it layers over each other time and time again. The simple yet delicate decorative pattern is applied using a hand carved Ise Katagami (paper stencil) and has a unique texture.
| Category: | Processing |
|---|
| Date: | 2023.08.15 |
|---|
| Tags: | #aigata #aizome #fw23 #indigo #isegatagami #naturaldyeing #naturalindigostencildyeing #visvim |
|---|
Creating a sense of humanity through layers of meticulous hand work
There is a piece of cloth that was dyed by "Aigata" during the Edo period that I found several years ago at an antique market, and the color of it is a beautiful deep indigo without any cloudiness to it where it appears as if it layers over each other time and time again. The simple yet delicate decorative pattern is applied using a hand carved Ise Katagami (paper stencil) and has a unique texture.
Aigata is one of the traditional Japanese dyeing methods that is a resist dyeing technique in which paste is applied to the fabric using a stencil that has a pattern carved out, the fabric is then indigo dyed, and finally the paste is washed off to reveal the pattern. I wondered why I was so drawn to this piece of cloth. I think it is because of the texture of the material, the color of the natural indigo, and the appearance of the pattern. As I unraveled the charm behind this cloth, I began to think further whether it would be possible to create products with a similar depth and warmth using modern materials and techniques.
Tokuyuki Murata, a craftsman from the indigo-dyeing workshop "Kosōen" in the Ome area of Tokyo, who has dyed many of the products made by visvim for more than 10 years lent us his expertise and experience. Mr. Murata's indigo takes sukumo that is prepared by an indigo master in Tokushima, which gets fermented with a natural lye. This process is known as "Tennen Aku Hakko date" (Natural Lye Fermentation). The technique was established in the Edo period and because it is done with natural materials there is no guaranteed outcome of the fermentation. Proper knowledge and experience are required to determine the ideal temperature and humidity, alongside an ability to assess the condition of the indigo and lye to accomplish good fermentation. Fascinated by the colors it produces, Mr. Murata remains committed only to the "Tennen Aku Hakko date" (Natural Lye Fermentation) Indigo technique and continues his work to improve this method.
>For more information on indigo dyeing, check the following 「Dissertation: Aizome (Natural Indigo Dyeing)」
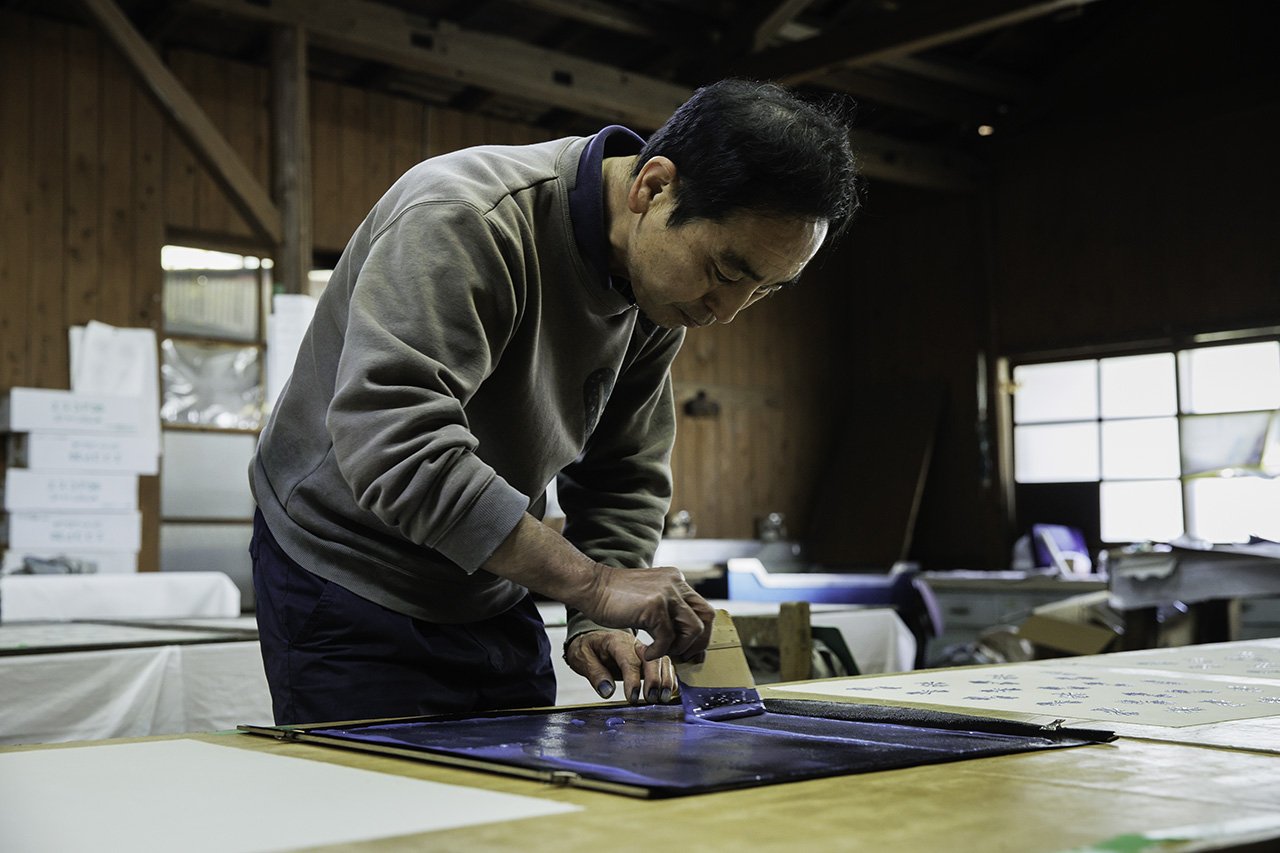
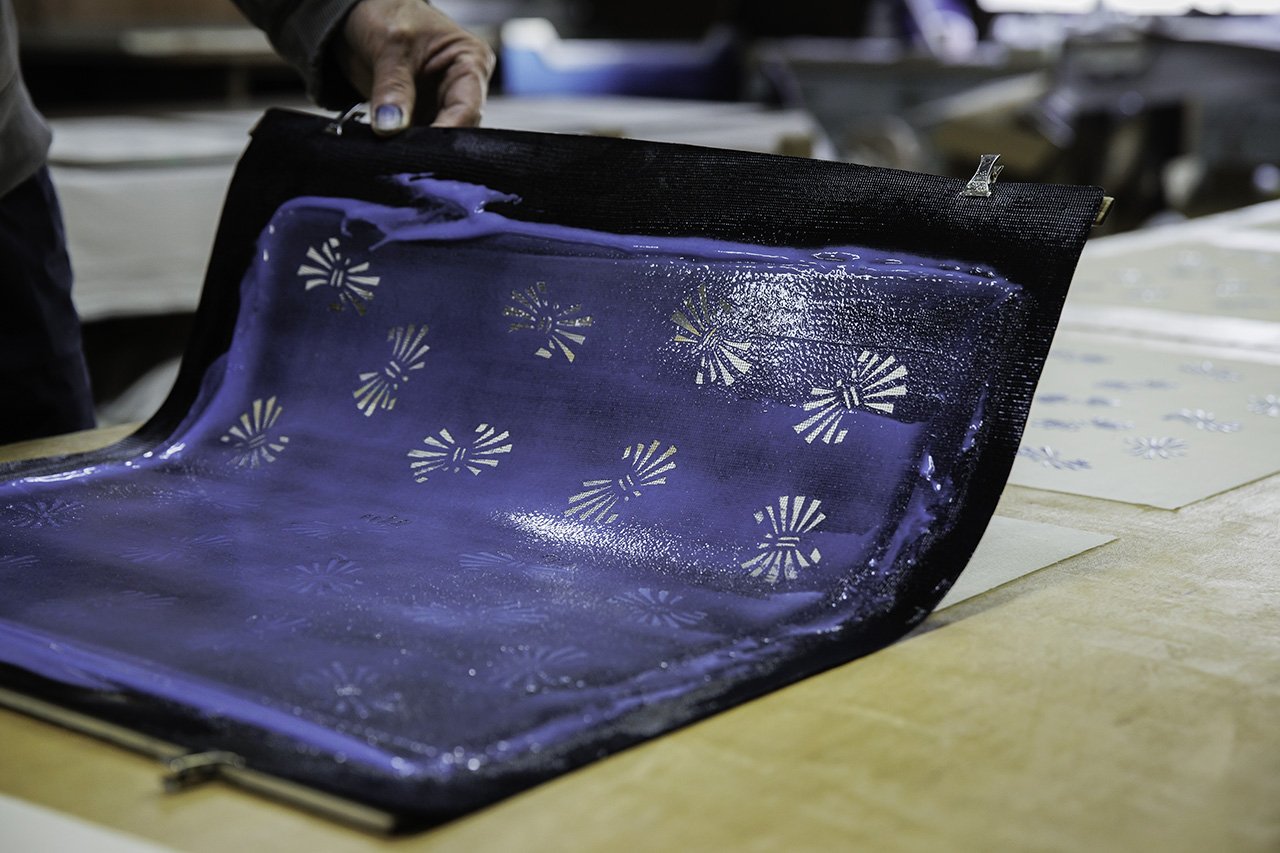
The material we selected for this product is a khadi fabric from India. It is a hand spun, hand woven cotton fabric that is attractive due to its rugged unevenness, however this characteristic is also a reason the dyeing process can be very challenging. With this fabric, when the width varies, the texture and thickness can be very different. Even with a single piece of bandana sized fabric, depending on the position of the weft thread, the way it dyes can change greatly. We started by trial and error, playing around with many different variables within the process, such as changing the number of times we conduct a pre-wash to soften the material, alternating the type and thickness of the paper stencil, using pastes with different ingredients, and varying the number of applications of the paste.
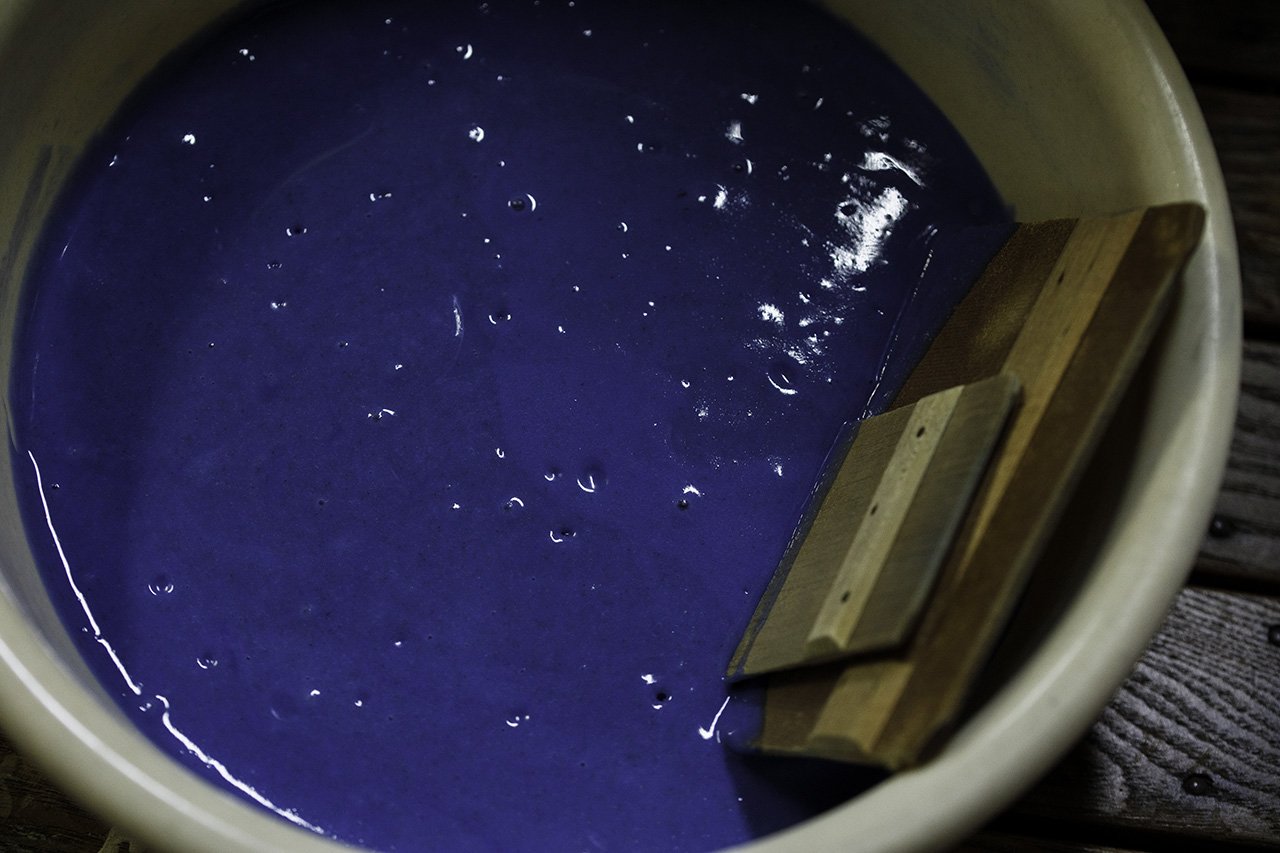
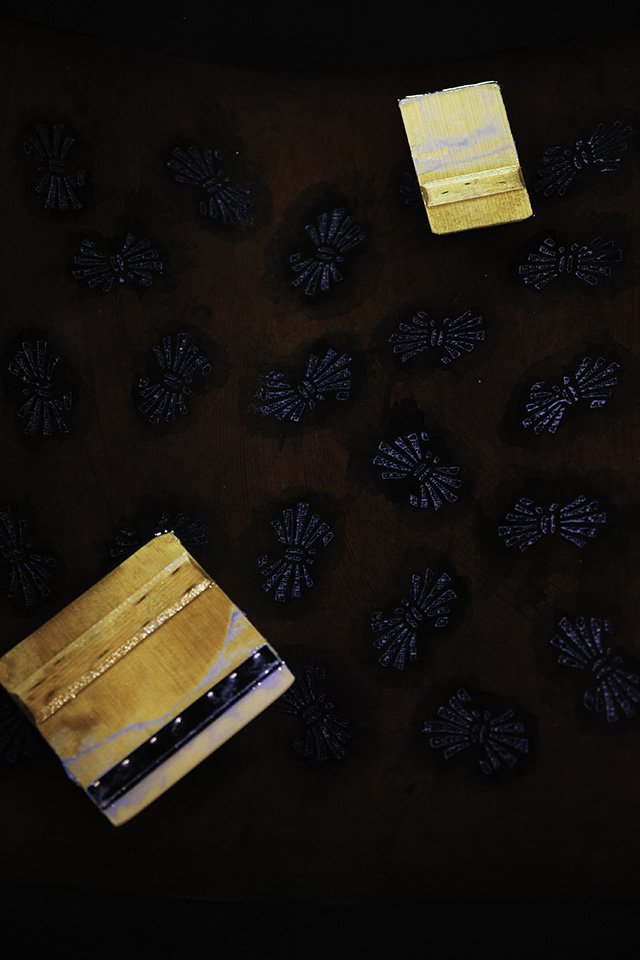
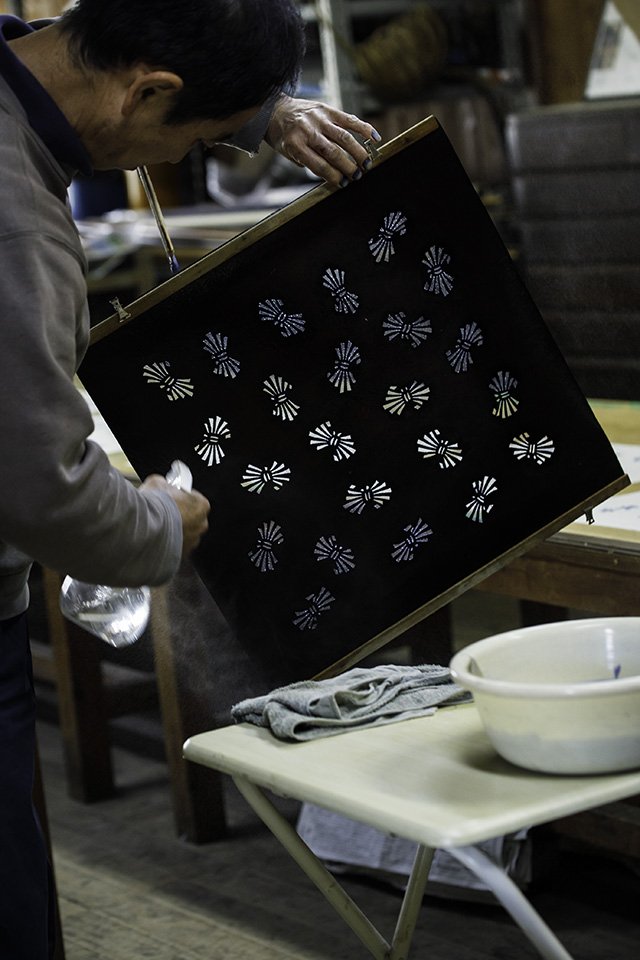
The stencils are thick Ise Katagami style made by gluing several layers of persimmon tannin dyed Japanese washi paper together and Mr. Murata himself carves out the patterns while considering how they will transfer to the material. The paste consists of mochiko and rice bran, which you then add salt to prevent any cracking as it dries. "Making the paste is a dye house's trade secret" is what we are told as the craftsmen's wisdom and ingenuity are packed into all the ingredients, combinations, and concentrations. It is said that the appearance of the patterns can vary greatly depending on the paste.
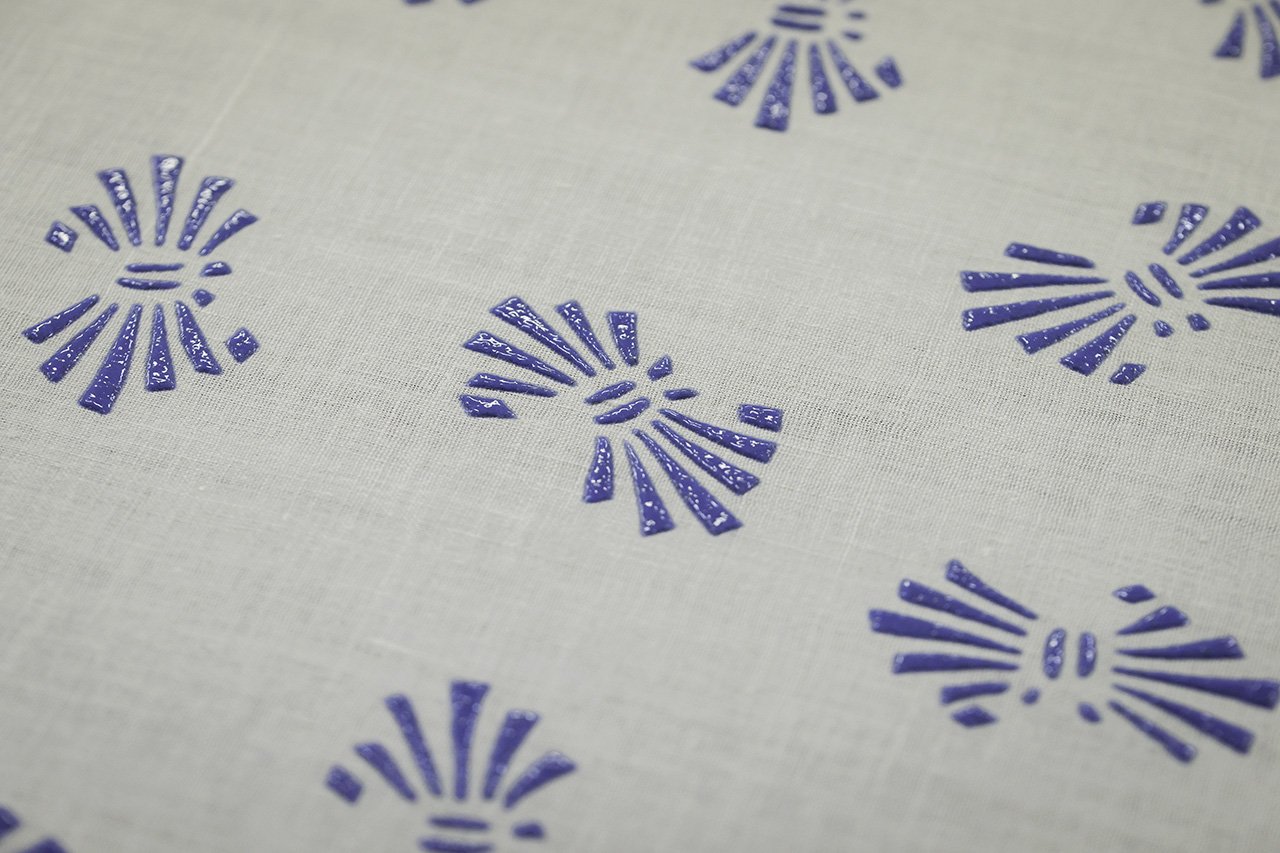
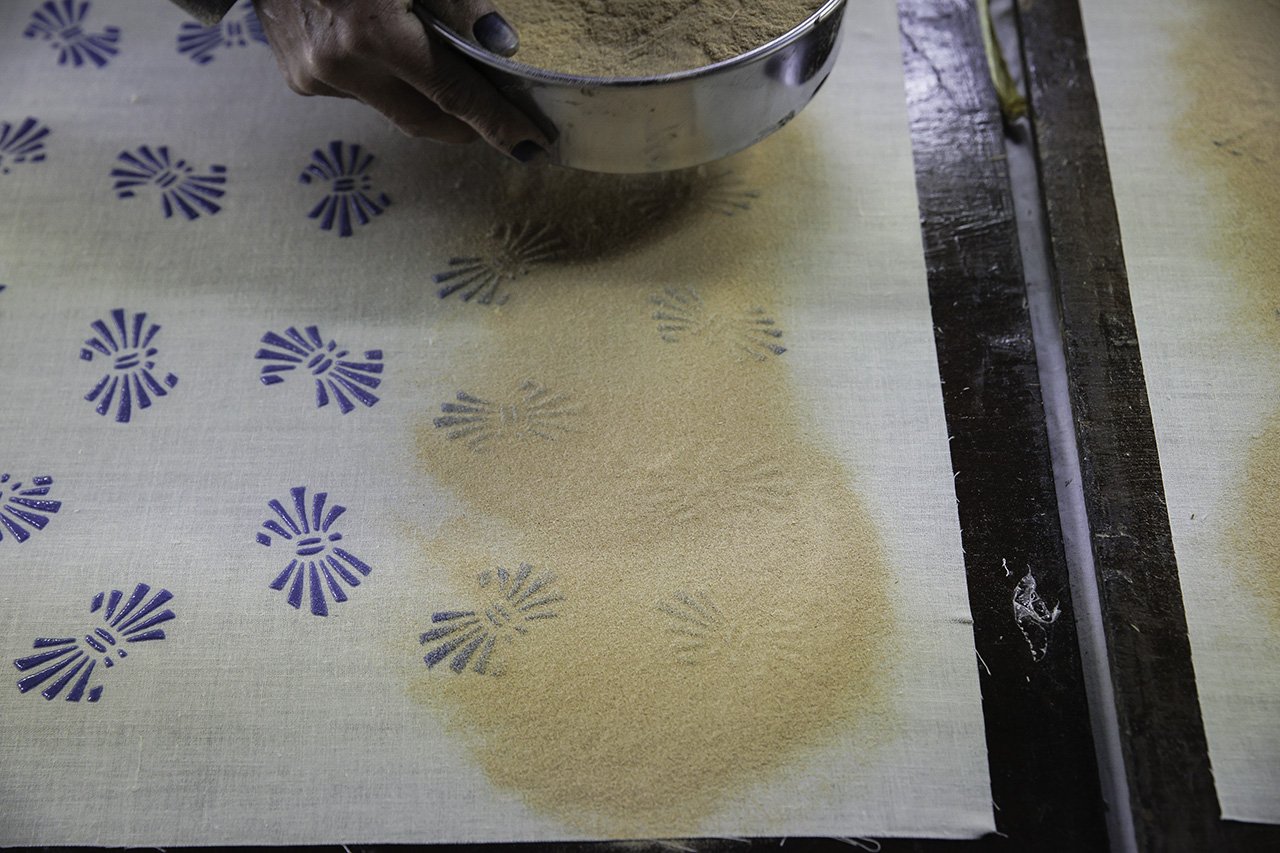
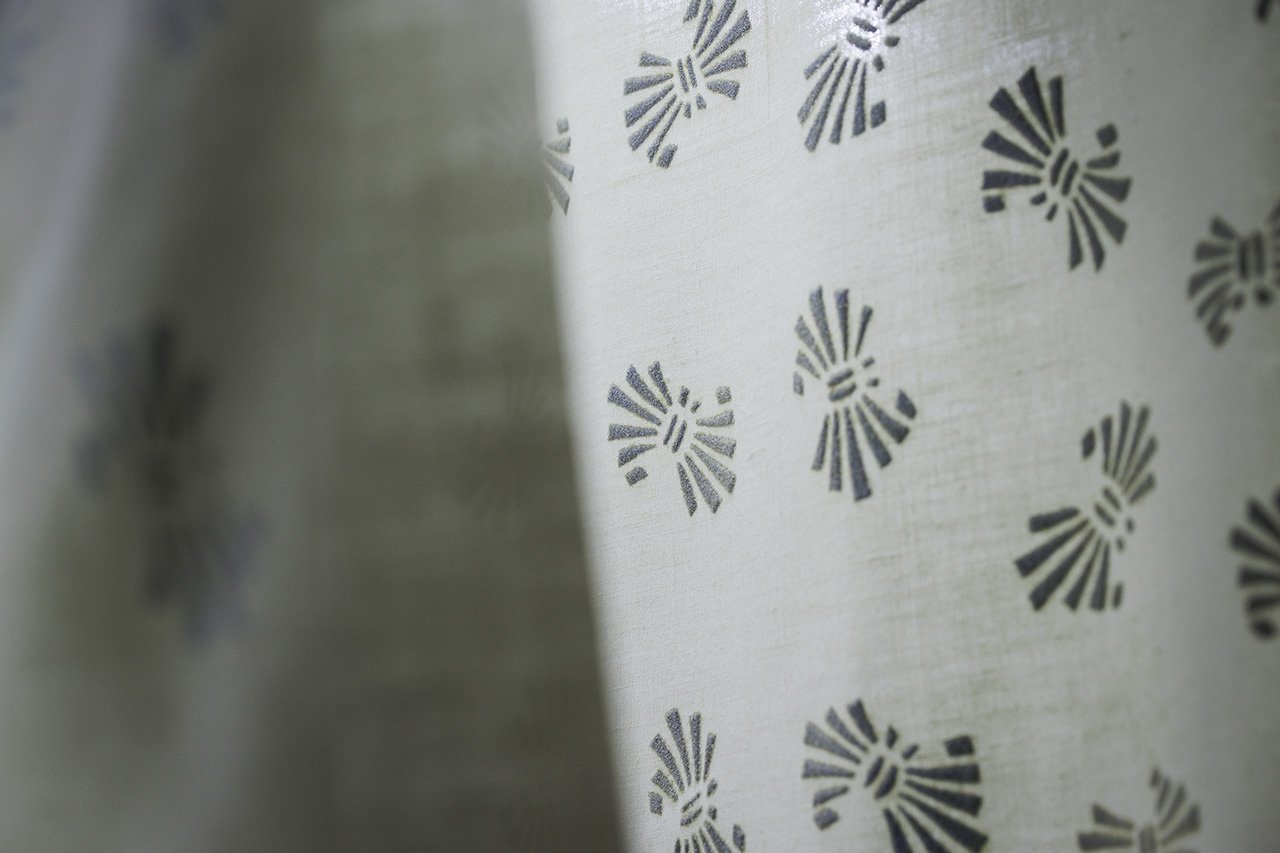
The fabric is cut into a bandana sized piece and securely attached to a board to avoid any distorting. The paste is then applied with a spatula on top of the paper stencil. Once the paste dries, a second application of paste is spread over the same paper stencil. During this step of the process, the paper stencil is kept moist by spraying it with a mist to prevent the stencil from shrinking. The amount of paste applied is just enough for the application to swell up on the surface and the purpose of this is to clearly highlight the pattern that will reveal itself as white space in the final steps. A fine sawdust (cedar and cypress) is then sprinkled on top to stabilize the application of the paste. In this step of the process, the condition of the stencil and the dryness of the paste are important, so it becomes necessary to pay attention to the humidity in the workshop, and above all to complete each step as quickly and accurately as possible.
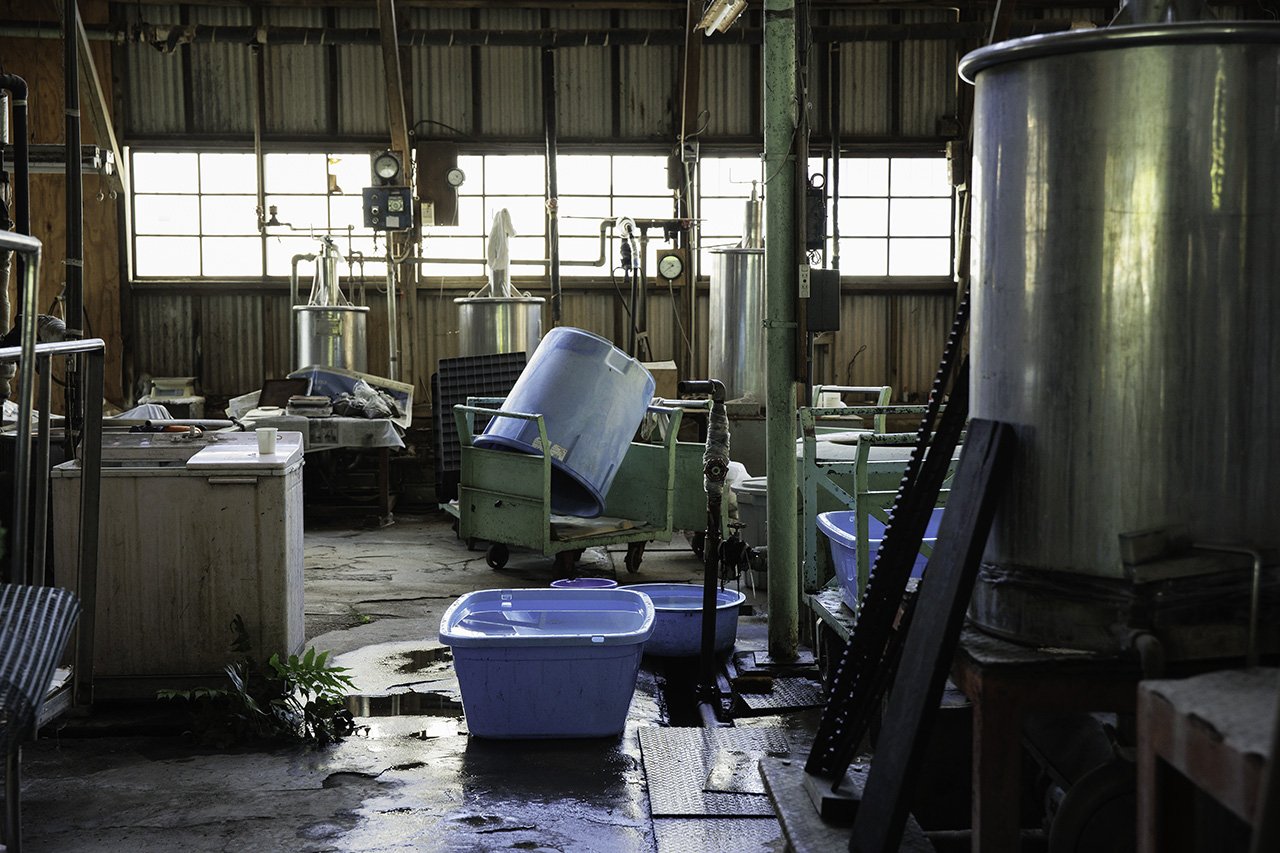
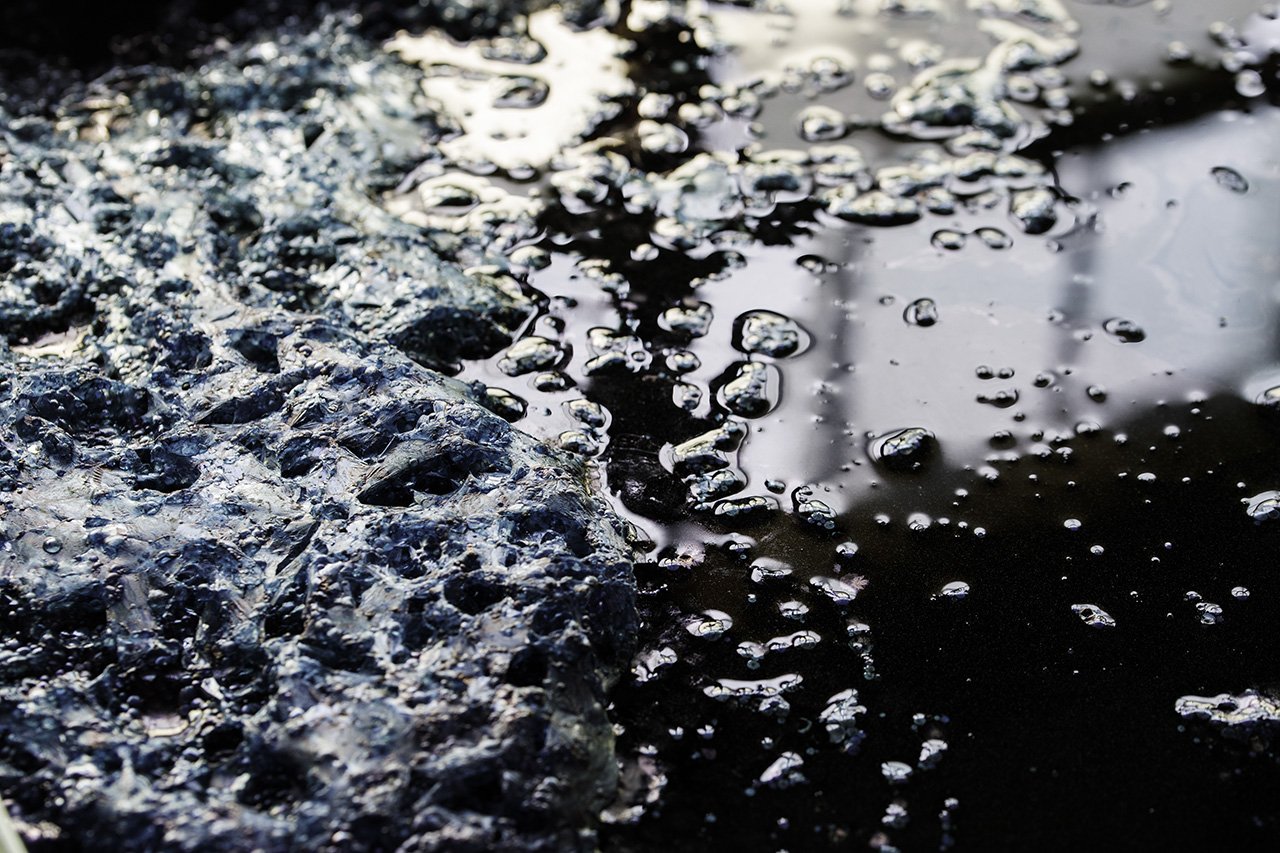
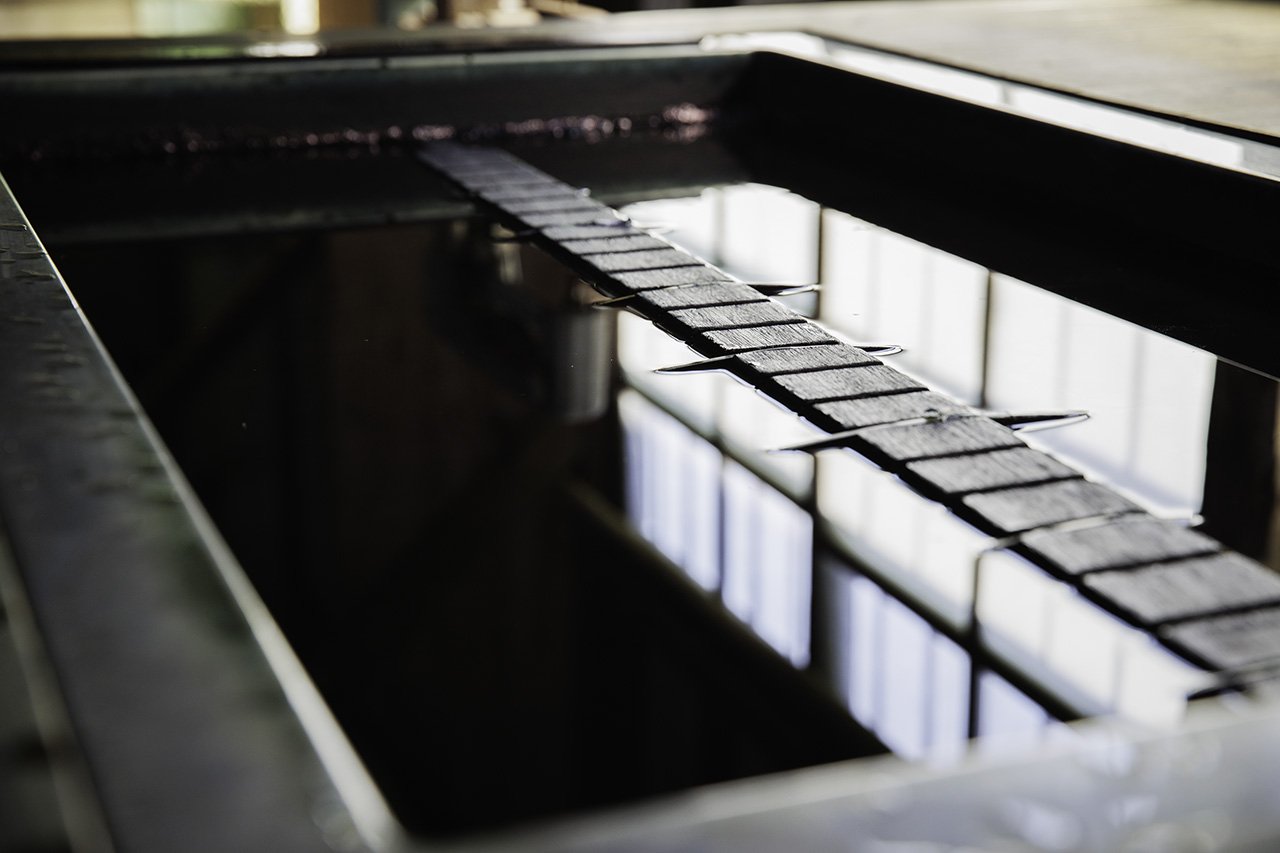
Once the paste is air dried and set, the fabric is immersed in hot water followed by cold water before proceeding to the indigo dyeing step of the process. Normally with indigo dyeing the fabric is rubbed together while being dipped in the indigo so the dye can penetrate the core of the thread, however with stencil dyeing the paste on the surface of the fabric cannot be agitated so the condition of the indigo dye must be good in order for the fabric to be dyed successfully.
The indigo flower (a collection of fermented foam) is removed by skimming the surface of the dye as it can cause an uneven finish to any piece of dyed fabric. Once the dye has been skimmed, seven pieces of fabric are hung from a series of hooks that hold each piece and then the fabric gets dipped into the urn. The first dip is meant to adjust the moisture content of the fabric and gets submerged for 1 minute and then lifted out. It is then followed by 6 minutes in the urn and 10 minutes of exposure to air to allow oxidation. After the second time it gets soaked for 7 minutes and oxidized for 10 minutes. This process gets repeated 3 times to yield a lighter colored indigo and 9 times for a darker hue.
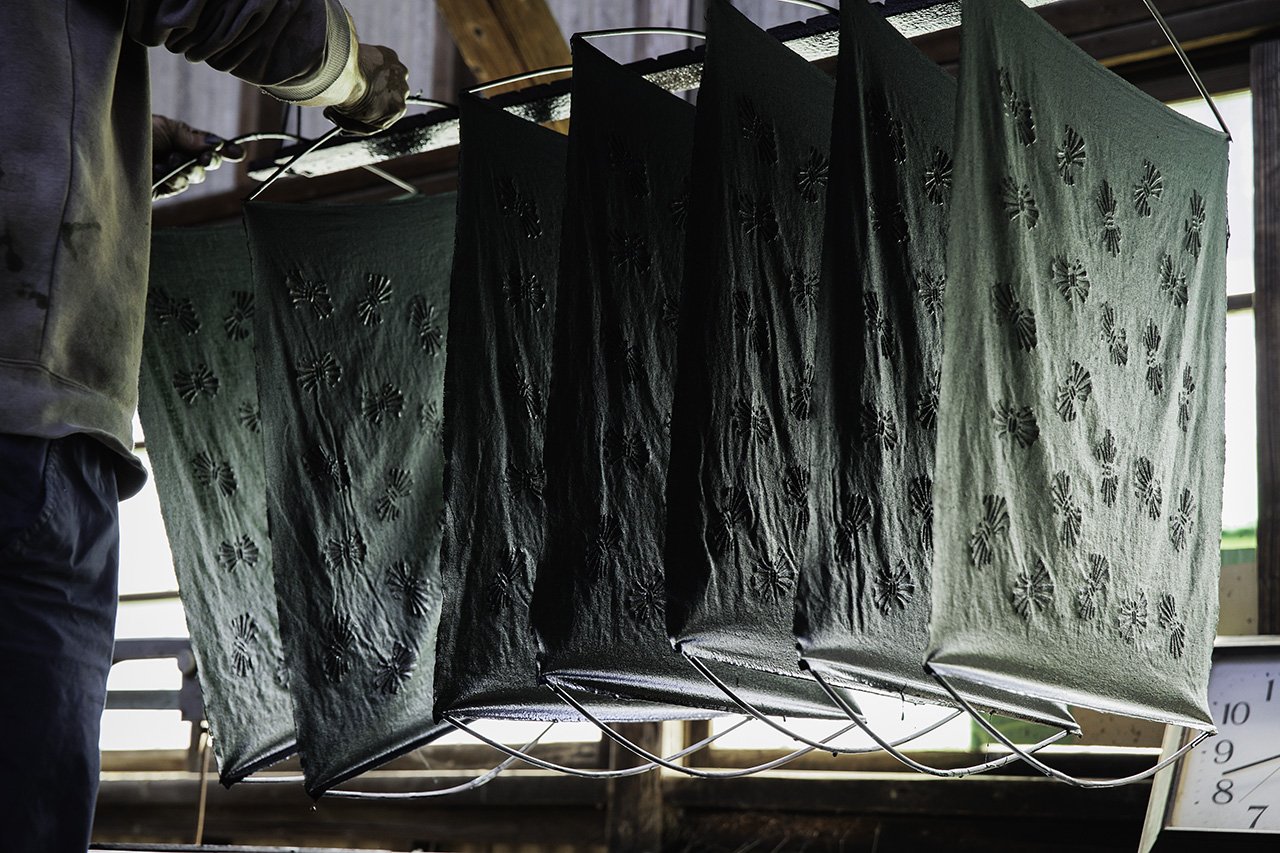
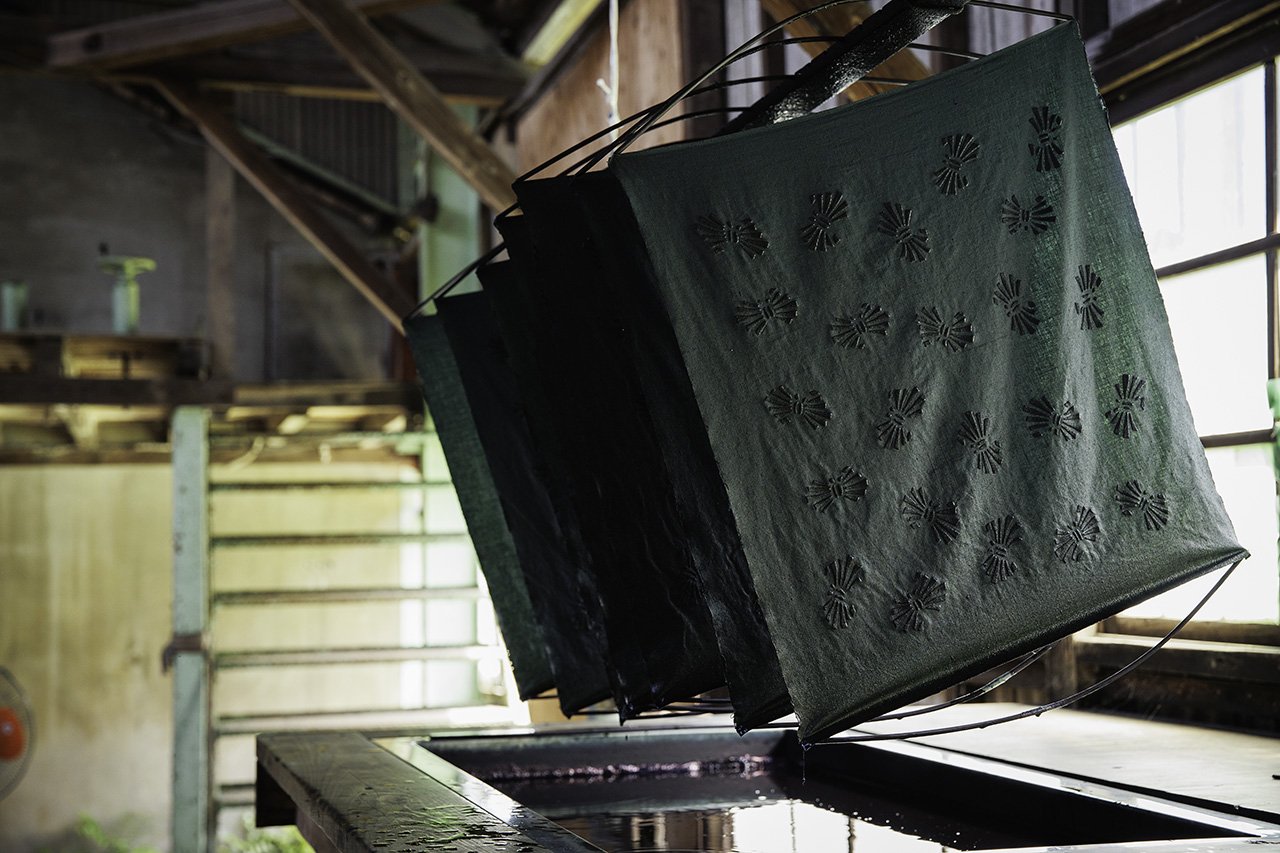
As you repeat these steps of "submerging in the urn" and "taking it out", the fabric gets turned upside down as the amount of dye that accumulates on the top and bottom edges of the fabric can change, as well as the different degrees of oxidation which can result in an uneven finish if the top and bottom of the fabric does not get alternated. Inverting the fabric carefully to avoid disruption of the paste is difficult work that requires concentration and patience but is an essential step for an even dye job.
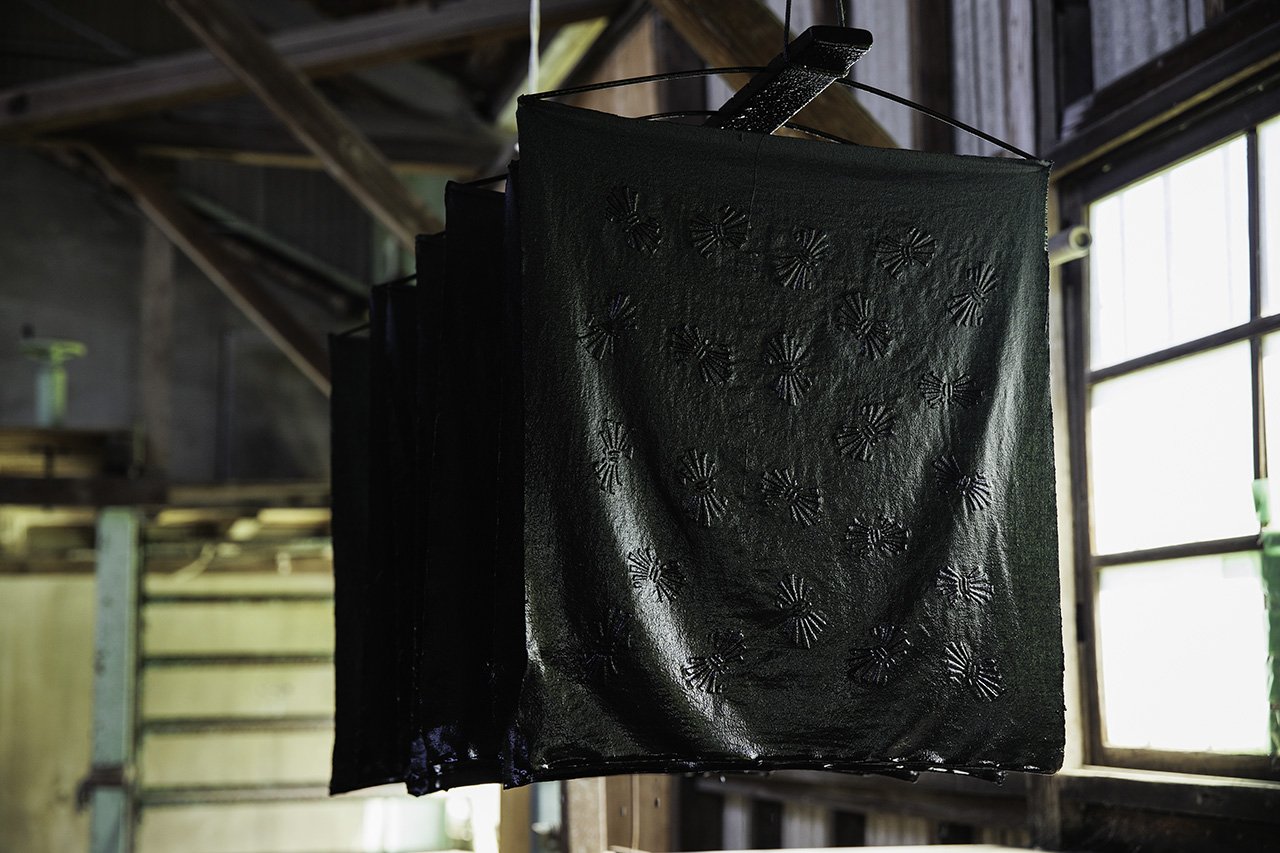
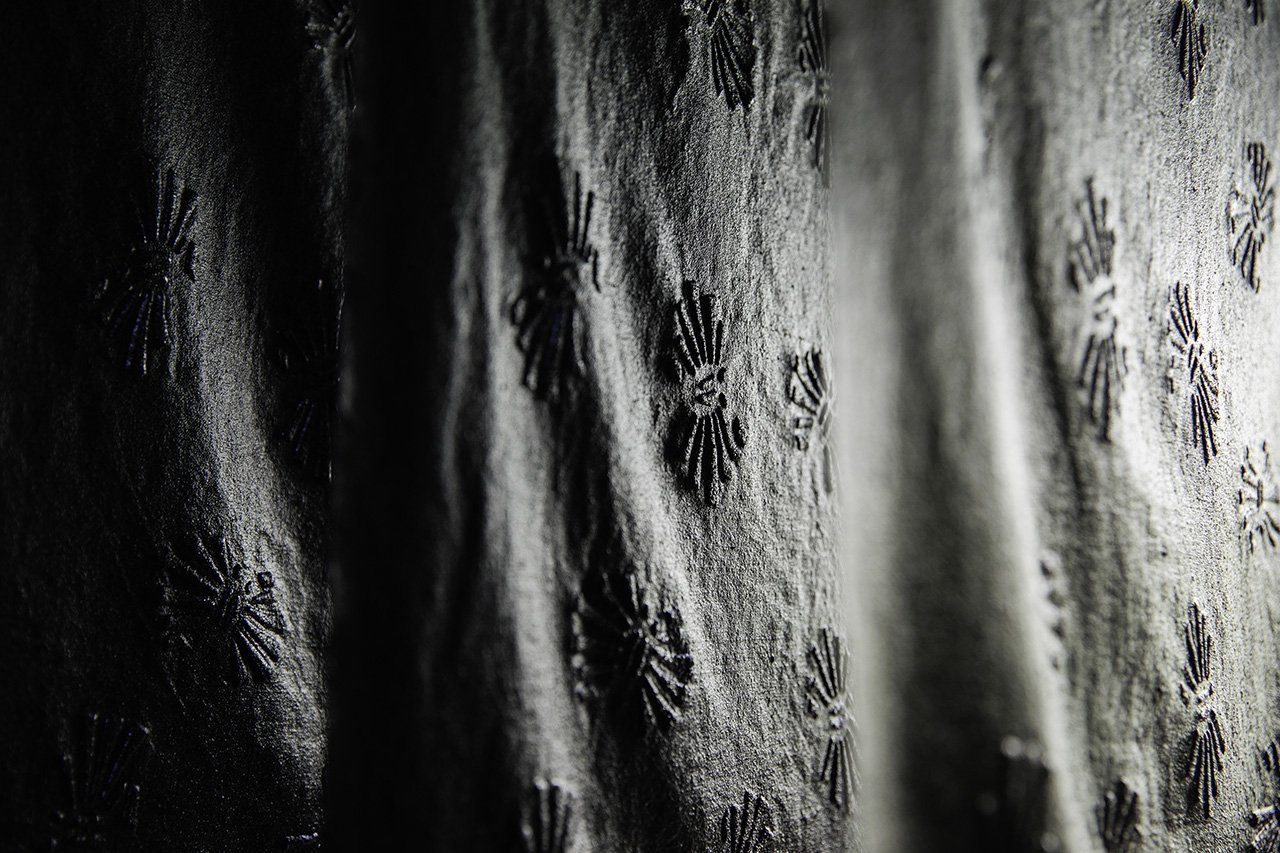
After the final oxidation is finished the fabric is soaked in hot water before removal of the paste and finished by washing thoroughly with water. The fabric then gets soaked in lye for half a day and finally dried in the sun. When exposed to the sun, excess deposits of brown tannin disappear, and a very clear indigo color emerges.
"Actually, it is most efficient when each step is conducted with care," says Mr. Murata. He went on to explain that the optimal method he arrived at in order to express the desired color was achieved by trial and error, a classic technique that has long been used since the Edo period.
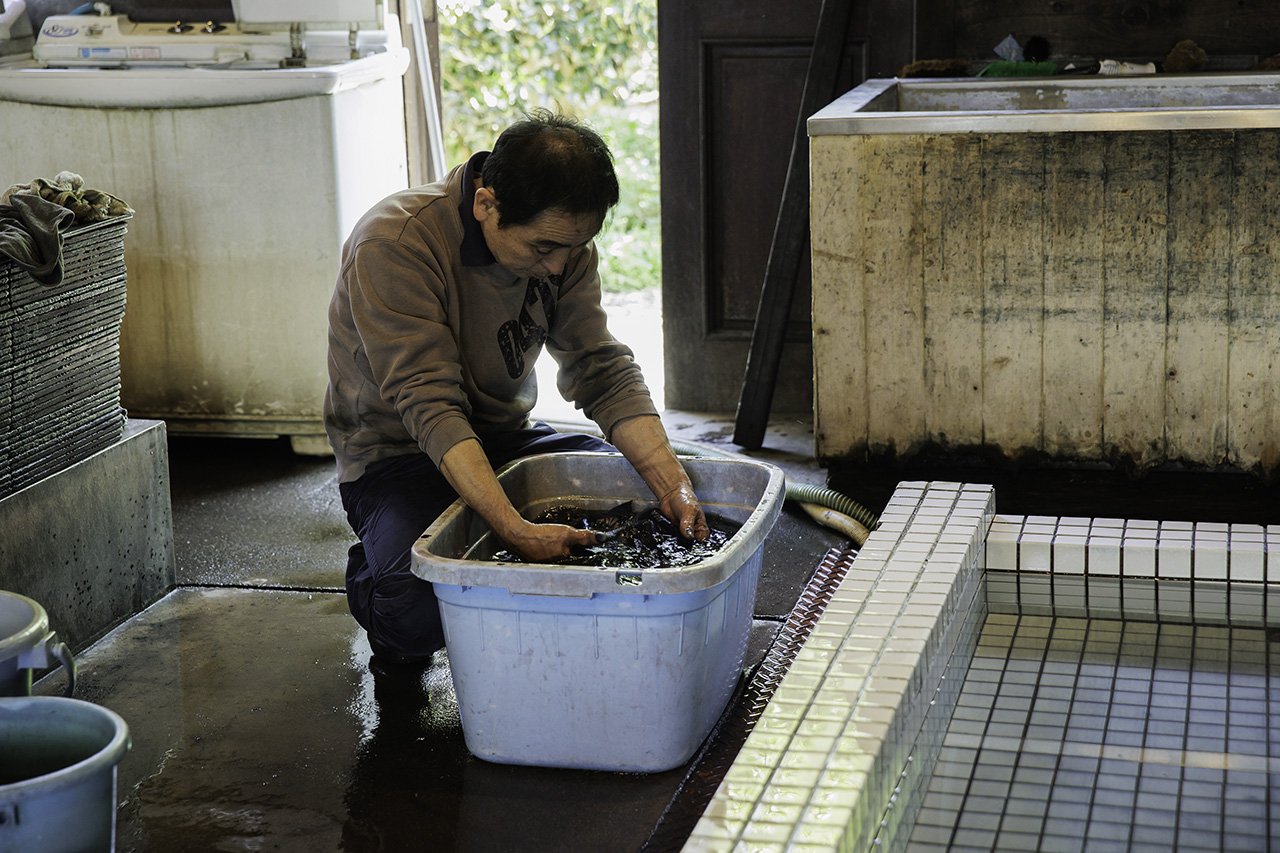


It starts with the hand sketched original picture, then using the hand carved paper stencil, and finally dyed by hand. In the pursuit of a universal beauty through careful handwork, the earnest attitude required to accomplish this level of work ultimately creates a slight unevenness that cannot fully be controlled, and this is where the craftsmen's individuality and humanity are revealed.
Modern manufacturing has made full use of all kinds of technology and equipment, making it possible to create a more uniform product, however visvim shall continue to consider the possibilities of "how can we create a product that reflects a sense of humanity?"


Photo, Movie: Takeshi Abe


